
How to Epoxy a Floor: Step-by-Step Installation Guide
How to Epoxy a Floor: Step-by-Step Installation Guide
Target Keyword: epoxying floor
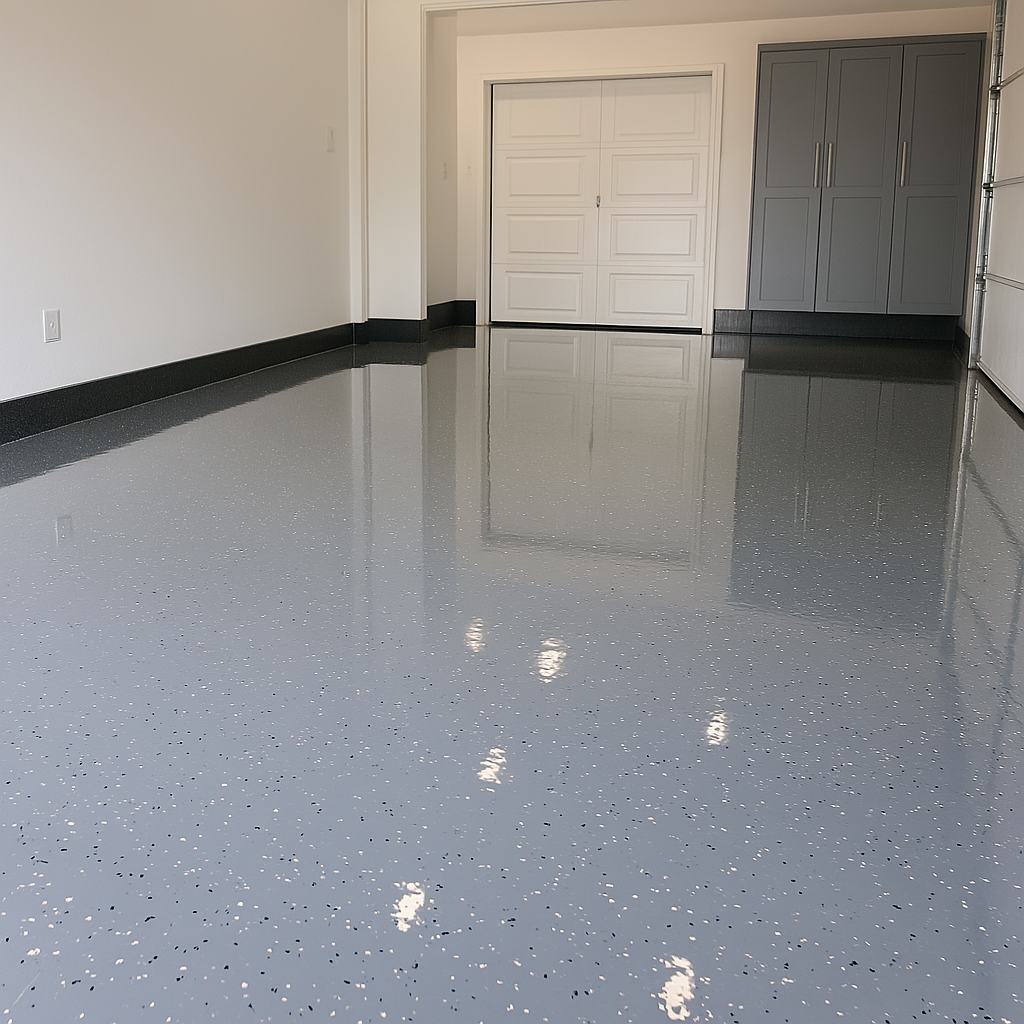
🧠 Why Epoxying a Floor Is Worth It
Epoxying a floor offers durability, chemical resistance, and a sleek appearance that makes it ideal for garages, warehouses, and commercial spaces. Whether you're an industrial contractor or a homeowner, epoxy flooring is a cost-effective, professional-grade solution that lasts.
As a leading epoxy coating manufacturer since 2013, Guangdong Lvshu Floor Coating Co., Ltd. has been helping customers worldwide achieve superior flooring results with premium materials and expert support.
🛠️ What You Need Before You Start
- Epoxy resin & hardener (2-part)
- Concrete cleaner & grinder or acid etcher
- Paint rollers, squeegee, mixing paddle
- Safety gear: gloves, goggles, mask
- Optional: decorative flakes or anti-slip additive
Our company’s R&D-developed epoxy coatings come with MSDS and marine export certifications — quality guaranteed for both professional and DIY use.
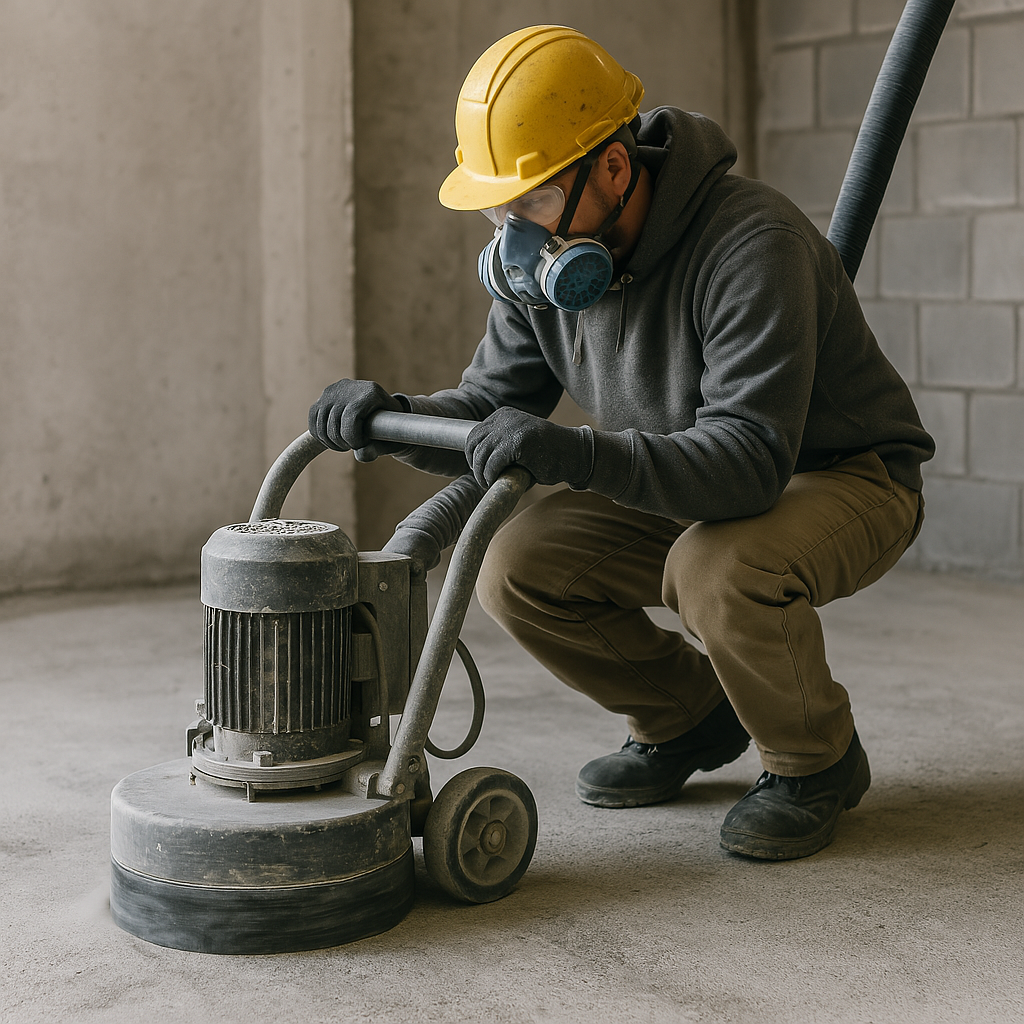
🧱 Step 1: Prepare the Concrete Surface
- Thoroughly clean the surface, removing oil, grease, and dust.
- Patch any cracks or holes with concrete filler.
- Grind or acid-etch to roughen the surface for better adhesion.
- Dry test the surface to confirm moisture level is safe.
⚗️ Step 2: Mix the Epoxy Components
- Pour part A (resin) and part B (hardener) into a clean container.
- Mix for at least 2–3 minutes using a power drill mixer.
- Only mix what you can apply within 30–40 minutes to avoid premature curing.
Our epoxy formulas offer extended working time and superior adhesion, perfect for export-grade projects across industrial and commercial sectors.
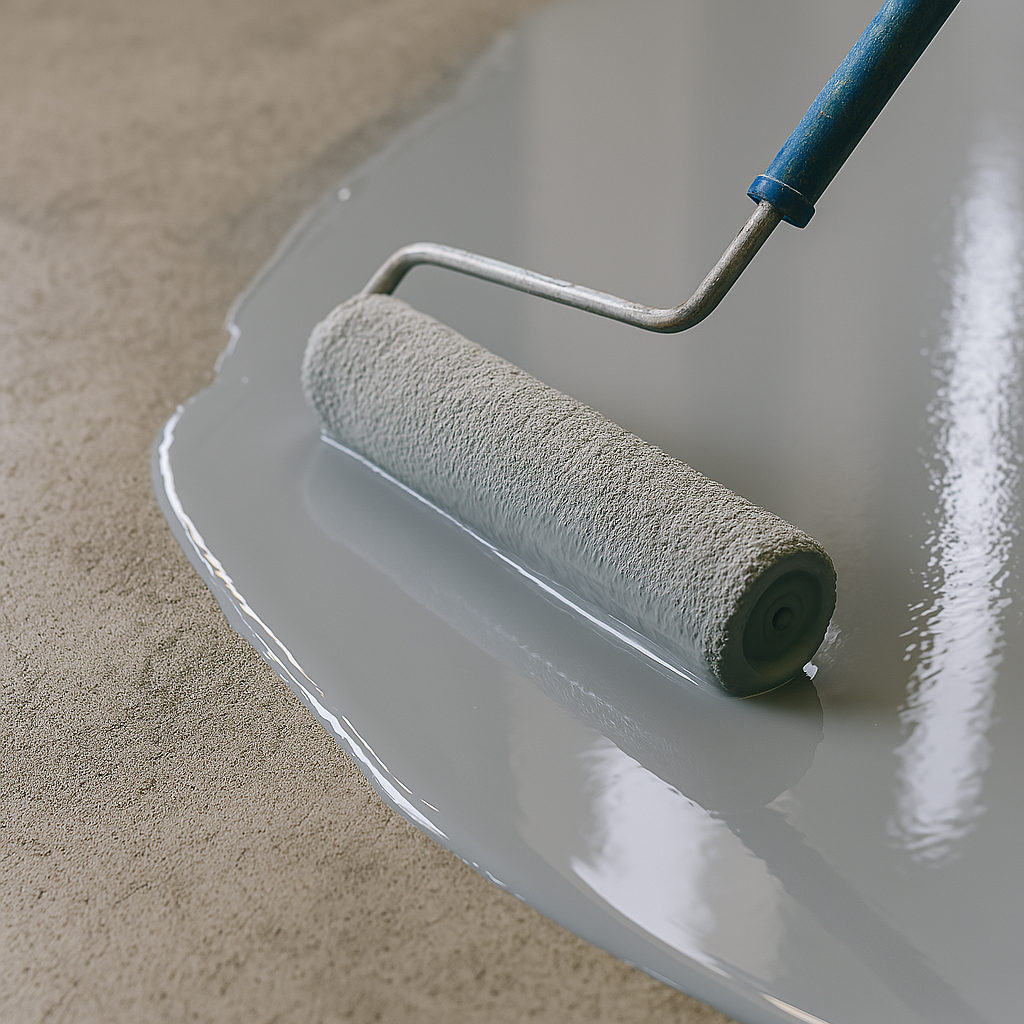
🖌️ Step 3: Apply the Base Epoxy Layer
- Use a brush to cut in edges around the perimeter.
- Roll epoxy in sections using a “W” motion for even distribution.
- Work quickly and avoid overlaps — epoxy cures fast.
🎨 Step 4: Add Decorative Flakes or Texture
While the base coat is wet, broadcast colored flakes or non-slip granules. This enhances both safety and aesthetics.
Guangdong Lvshu Floor Coating Co., Ltd. offers a variety of decorative and anti-slip additives that are color-stable and resistant to UV degradation.
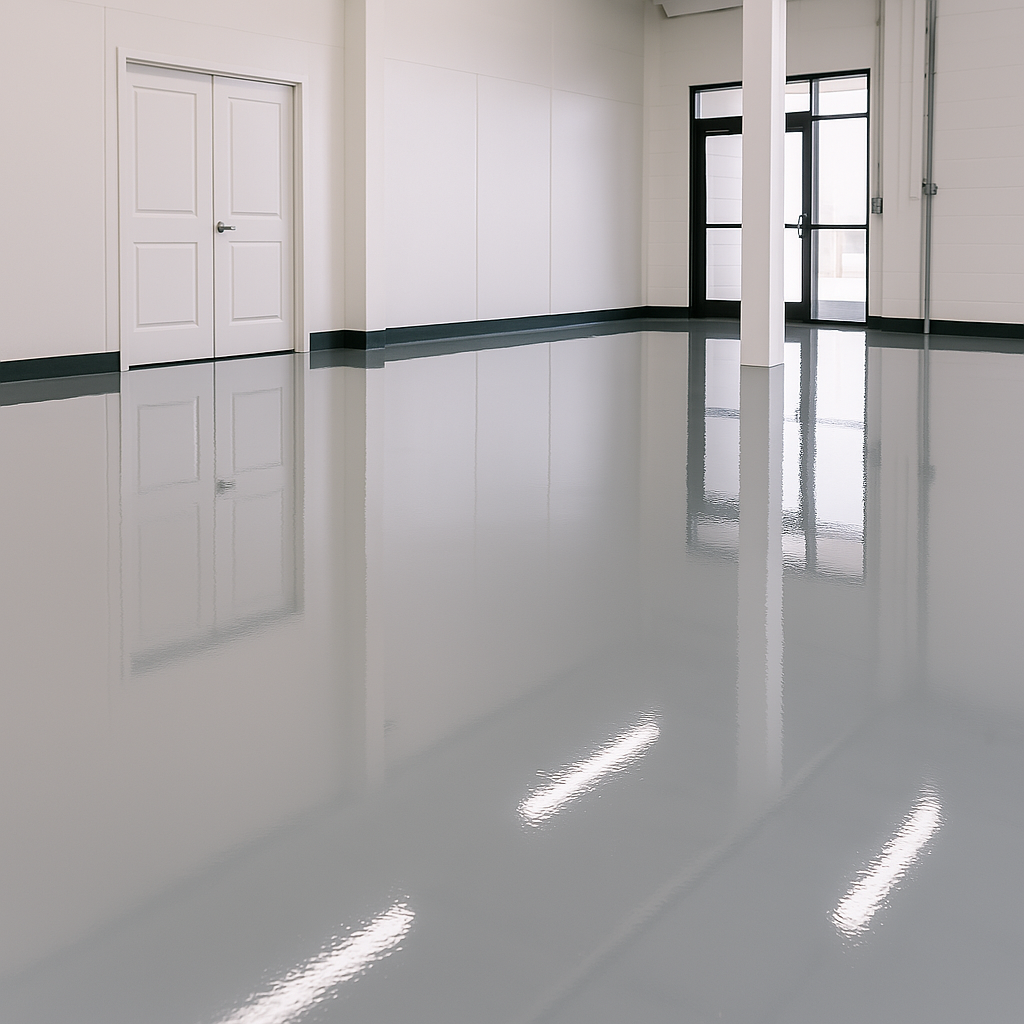
🛡️ Step 5: Apply the Clear Topcoat
- Wait 12–24 hours for the base layer to cure.
- Apply a clear topcoat (epoxy or polyurethane) for protection.
- Let cure for at least 72 hours before heavy use.
🧽 Maintenance Tips
- Sweep or mop regularly to prevent grit buildup.
- Avoid acidic cleaners — use pH-neutral products.
- Reapply topcoat every 3–5 years in high-traffic areas.
✅ Why Choose Guangdong Lvshu Floor Coating Co., Ltd.?
- 🧪 Self-developed formulas with advanced bonding and gloss retention
- 🌍 Export-certified (MSDS, marine shipping reports)
- 🏭 High performance for industrial and residential applications
- 📦 Global supply capabilities with timely support and consultation
🔗 Learn more: www.paintuniverse.cn
📧 Contact us for technical support, samples, and distributor inquiries.
Meta Title: How to Epoxy a Floor – Step-by-Step Epoxy Installation | Paintuniverse Coatings
Meta Description: Learn how to epoxy a floor with this expert guide from Guangdong Lvshu Floor Coating Co., Ltd. Discover step-by-step installation tips, tools, and product advantages.

